Scanning System to Check Matched Cylindrical Components
M39S
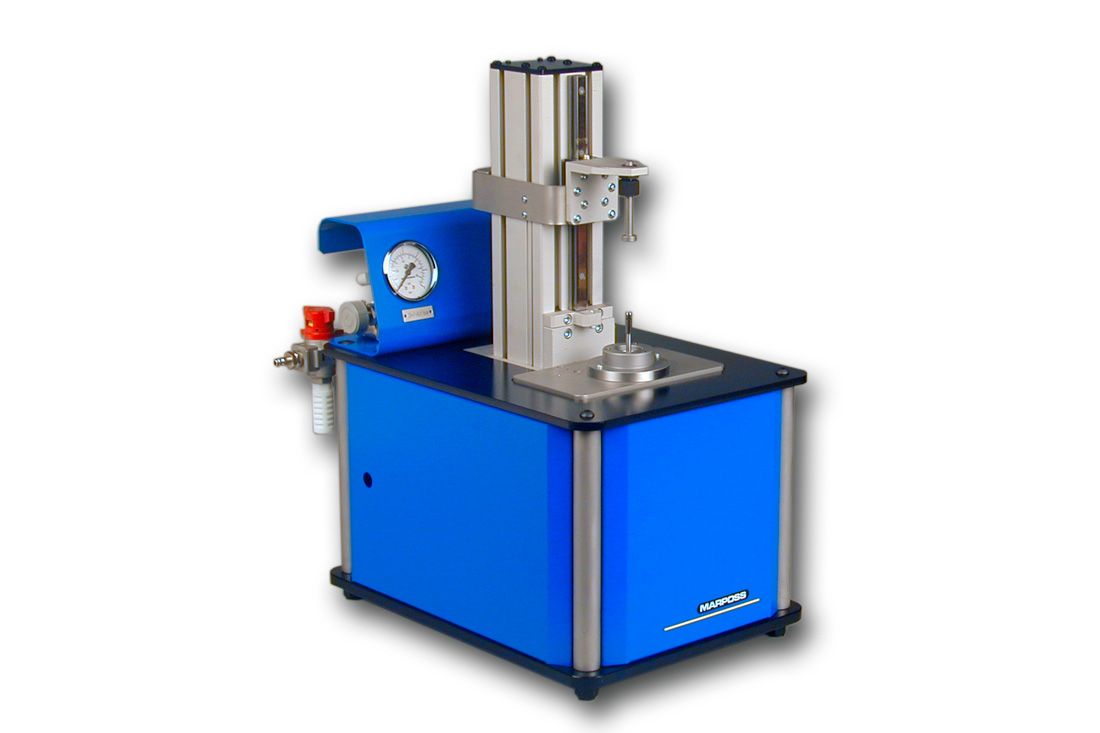
M39S is an ultra high precision measuring system for Checking of Matched Cylindrical Components.
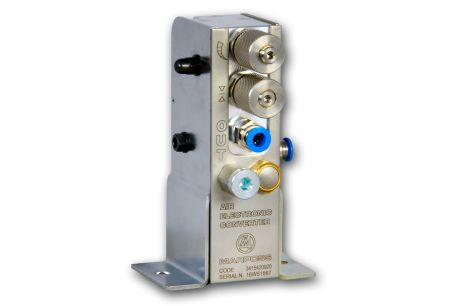
It’s designed to scan the internal diameter of a bore as well as the external diameter of a shaft and evaluate their matching clearance along their total axial length, with the ability to provide a graphical display of the matched surfaces. Using pneumatic measuring technology in combination with a Marposs air-to-electronic converter guarantees sub-micron performances even for the measurement of extremely small parts.
APPLICATION FIELD
- Manually loaded and unloaded Quality control stations beside a production line, Pre-process measurement, for match grinding applications
- Post-process measurement, with feedback compensation to a machine
- Stations for classifying parts
- Measurement stations in selective assembly lines
MEASURING TECHNOLOGY
- Pneumatic plug gauge for bore inspection (Annular or direct jet types available)
- Pneumatic ring gauge for outer diameter inspection (Annular or direct jet types available)
- Special measuring solutions with contact-electronic plug or ring gauges
MEASURING PRINCIPLE
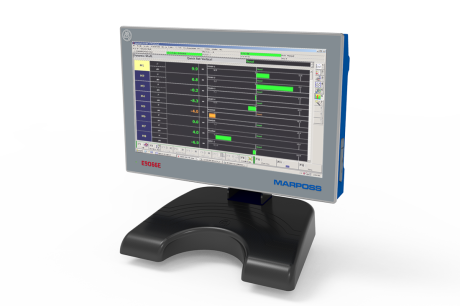
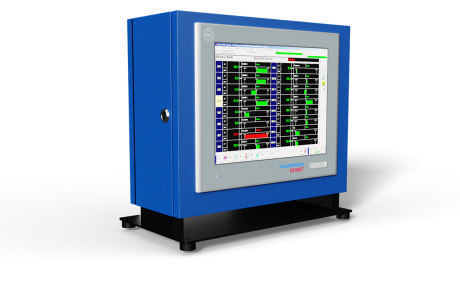
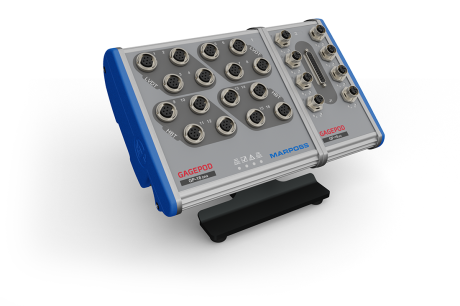
A gauging plug is moved at a constant speed by a motorized slide inside the bore to be gauged and the diameter reading is continuously stored. For gauging external diameters, generally the part itself is moved within the fixed ring gauge. A Marposs GagePod 4M8 acquisition module is used to control the movement of the NC slide and to continuously acquire the diameter values during the scanning stroke. The measurement values are shown together with the graphic profile on the screen of an E9066T or E9066E Industrial computer.
MEASURED CHARACTERISTICS
- Max, min, average inner and outer diameters
- Inner and outer diameter in local programmable positions
- Taper, barrel shape, other shape errors due to diameter variation along the axis
- Max, min, average matching clearance
- Clearance in local programmable positions
MAXIMUM ACCURACY
The M39S gauge guarantees the best repeatability and accuracy required for the measurement of very precise mechanical components like injectors, pumps and hydraulic valves. This measuring system is used in the matching process of inner diameters and outer diameters, as in selective assembly, match grinding or match honing operations.
COMPACTNESS
Extremely compact in overall size, where all components are fixed to one common aluminum profile, makes the M39S measuring station ideal for integration in automatic machines, even when there is very little space available.
ROBUST DESIGN and RELIABILITY
A robust design, and the use of standardized and easily interchangeable pneumatic measuring components, makes M39S highly proficient to guarantee excellent metrological performance over a period of years in typical production environments, like in automatic post-process applications.
For all characteristics, please refer to the brochure in the DOWNLOAD section.
STANDARD VERSIONS
- M39S Single Station ID , to measure one part with one bore
- M39S Single Station OD , to measure one shaft outer diameter
- M39S Twin Station ID/OD, for simultaneous measurement of the inner diameter on 1 bore, the outer diameter of 1 shaft and their matching clearance
- M39S Light, Compact solution with integrated E9066E-L7 electronic unit. Available only for ID inspection
SPECIAL VERSIONS
- M39S ID or OD, with multi-channels pneumatic plugs or rings, for simultaneous scanning inspection of parts with multiple diameters
- M39S Single Lip ID or OD, for measurement of very small diameters (ID starting from 0,8 mm)
- M39S Special versions, for automatic part loading, with integrated horizontal shuttle or rotating table
- M39S Roundness, to combine the axial scanning inspection of the diameter to the measurement of true roundness in several programmable positions, with the facility to provide the polar diagram for each measured section. Gauge available in different configurations, for the measurement of shafts or bores
