Pre- and Post-Process Scanning and Probing on Gear Grinders and Machining Centers
G25
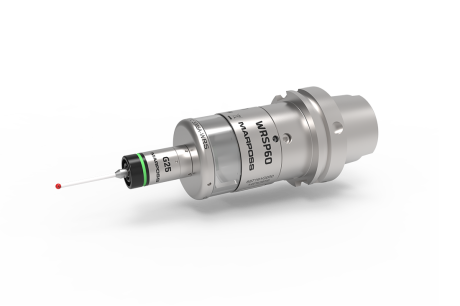
Touch and scanning in a single product: G25 represents the innovation in the field of pre/post process gauging on work pieces in gear grinding machines or machining centres.
The application allows a consistent cycle time reduction due to the fact that it is not anymore necessary to use a Metrology Lab (unloading transport – eventual reloading times are saved): measurement is performed directly inside the machine. Scanning at high speed is another plus – scanning cycles are considerably faster than standard multi touch cycles.
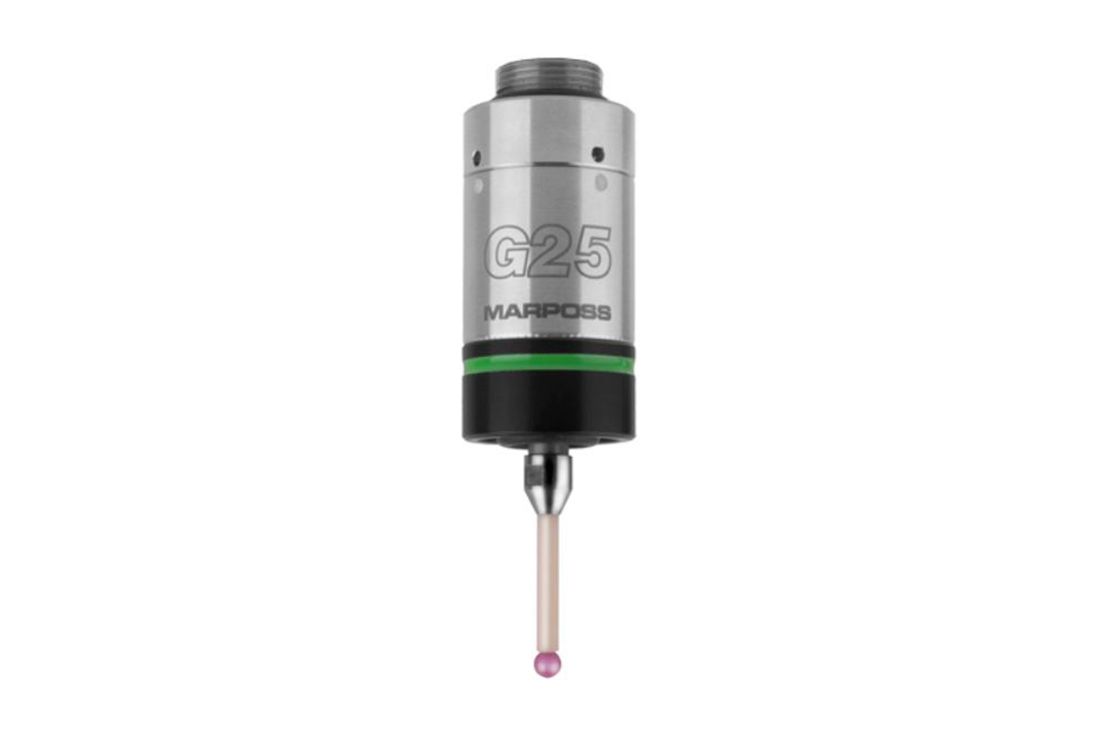
The combination of technical know-how in on machine gauging and touch technology has produced the G25 probe, able to do both part surface scanning and touch for part positioning and measurement.
The G25's strong points include compact size, measurement stability at high speeds, allowing for highly reduced cycle times when compared to old point-by-point scanning methods.
The product was developed in order to gauge parts on machines while still fixtured in case rework is required. Excellent performances of accuracy and repeatability, together with the possibility to perform scanning at high speed, make G25 the ideal solution in many critic applications, where multy touch technology is not enough
There are different possibilities for probe interfacing, able to provide an analog output, a digital output wired (with USB interface) or wireless (with a plug).
Probe handling inside the machine
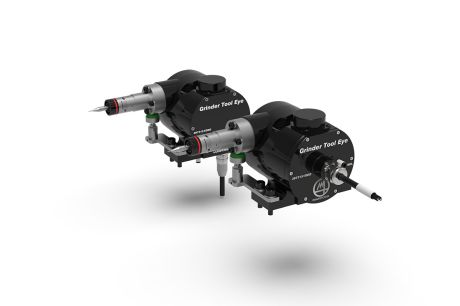
Probe must be connected to a socket that can be moved inside the machine with Marposs actuating arm:
- GTE arm
- Special solution with telescopic arm
- Scan and Touch function with a single probe; Controllo e posizionamento del pezzo in macchina
- Cycle time reduction and simplification of part check mode
- Profiles comparison with a masterpiece
- Direct feedback to the machine for tool path correction
- Small size
- Excellent accuracy and repeatability performances
- Extreme flexibility: G25 can be used in multiple application types
Analog Edition
Connection between G25 and the machine is made with an analog interface, able to provide a voltage output proportional to the movement of the contact point, and a skip signal.
From front panel it is possible to adjust sensitivity with a trimmer.
Connection status, touch light and eventual errors/alarms can be constantly monitored with LEDs.
Digital Edition
Application G25 Digital Interface uses a USB interface alble to provide a skip signal, after reaching a threshold and a measure value.
Digital interface is composed by:
- Socket for connecting G25 probe
- USB connector
- Wires for skip signal (connector can be also provided)
Wireless Edition
System is composed by a transmitter and a receiver. Data are sent directly to CNC. Some Software packages are available for data acquiring, and for simplified machine cycles creation.
- Gear grinding machines
- Multi axis machining centers
- Generic spline surfaces measurement – 3C industry
- Measuring machines
- …
BROCHURES AND MANUALS
| Brochure | Installation and User Manual | |
|---|---|---|
| English |
G25: (3.09MB)
|
G25 - Analog Interface: (1.44MB)
G25 - Digital Interface: (1.96MB) |
| Italian |
G25: (3.08MB)
|
G25 - Digital Interface: (1.98MB)
G25 - Analog Interface: (1.44MB) |
| German |
G25: (3.09MB)
|
G25 - Digital Interface: (1.96MB)
G25 - Analog Interface: (1.44MB) |
| French |
G25: (3.08MB)
|
G25 - Digital Interface: (2.00MB)
G25 - Analog Interface: (1.44MB) |
| Spanish |
G25: (3.09MB)
|
G25 - Digital Interface: (1.99MB)
G25 - Analog Interface: (1.43MB) |
| Japanese |
G25: (1.78MB)
|
- |
| Simplified Chinese |
G25: (2.95MB)
|
G25 - Digital Interface: (2.05MB)
|
| Traditional Chinese |
G25: (2.95MB)
|
- |
