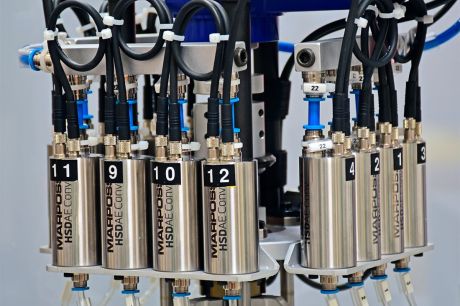
Post Process Measurement on Honing Machine
The part verification soon after a precise machining operation like the one performed inside the honing machines is an important step to grant the production quality.
Normally, on small parts, the dimension control is done outside the machine with dedicated measuring benches where the operator manually loads the part to be controlled. While for workpieces having big dimensions, is possible to integrate the measuring system directly on the honing tool.
In both cases the main target it to keep under control the workpiece cilindricity and immediately feedback the machine with a compensation command to reach a production within the required tolerances.
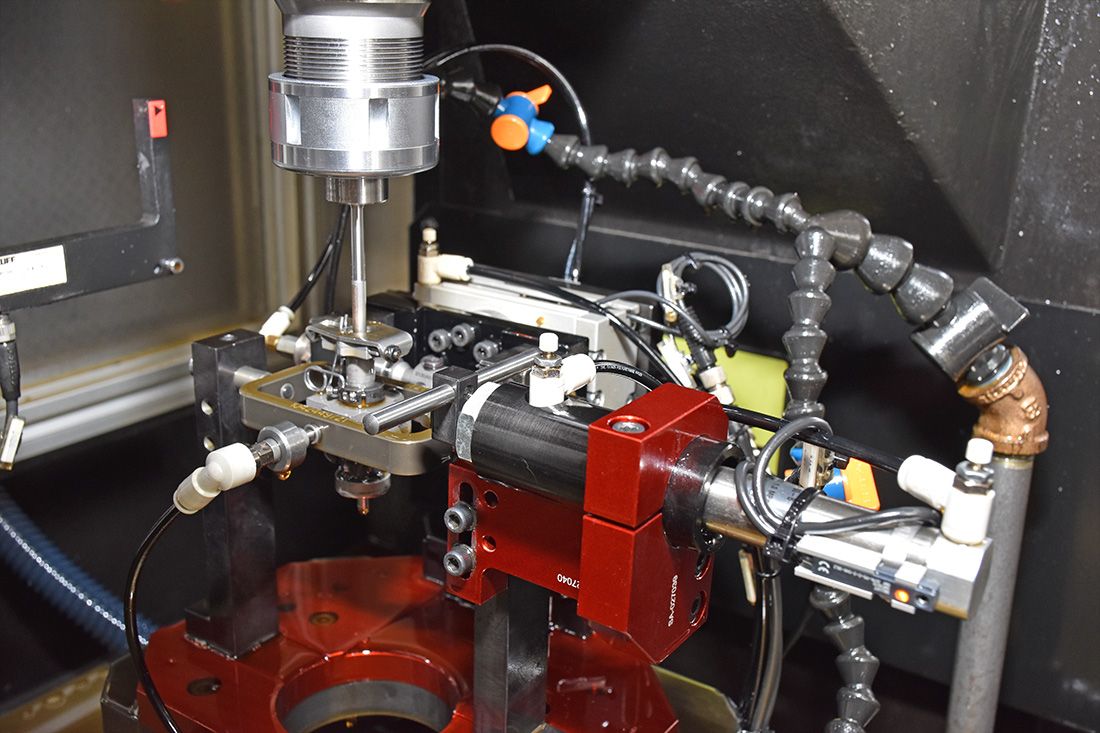
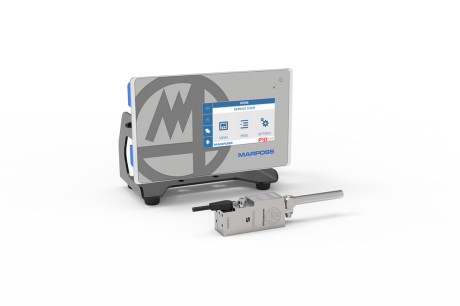
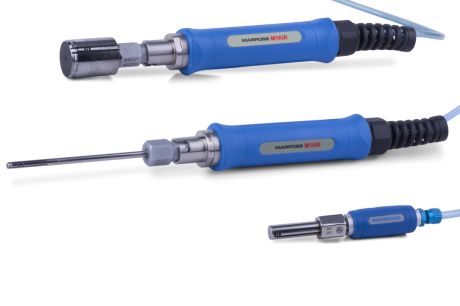
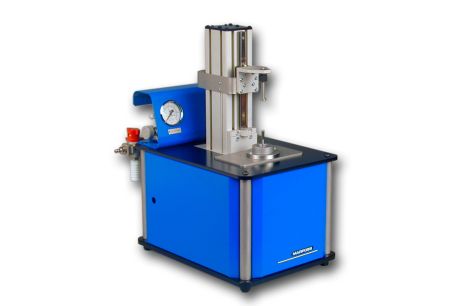
Marposs is able to supply different gauging solutions as stand alone benches. Post-process benches can be designed using both contact and non-contact sensors for an immediate selection of good or scrap workpieces.
The most advanced gauging solution foresee the possibility to integrate the scanning feature that is an essential tool for functional control of components produced under high accuracy matching and assembly conditions. This system not only inspects and graphically displays the dimensional profile of the matching surfaces along their global extension, but also provides indications for the process control of the machine.
By using different measuring elements, the diameter of a bore or an outside diameter can be inspected, along its total length. The measured values contain detailed information about the diameter and the cylindrical form, which determine the matching conditions or classification. The use of standard components and a robust mechanical design guarantee excellent performances for years in the shop floor environment.
- Reduction of working and check times
- Increase of production efficiency
- Scrap reduction
- Indirect control of the honing tool
- Ease of the operator daily work
