Commutator Profile Inspection and Analysis After Turning
ELECTRIC MOTOR ARMATURE INSPECTION
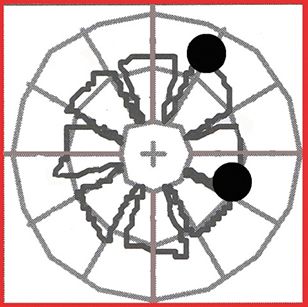
This system analyzes the commutator contour and calculates geometrical characteristics, after a "filtering" process removes the slots from the original profile.
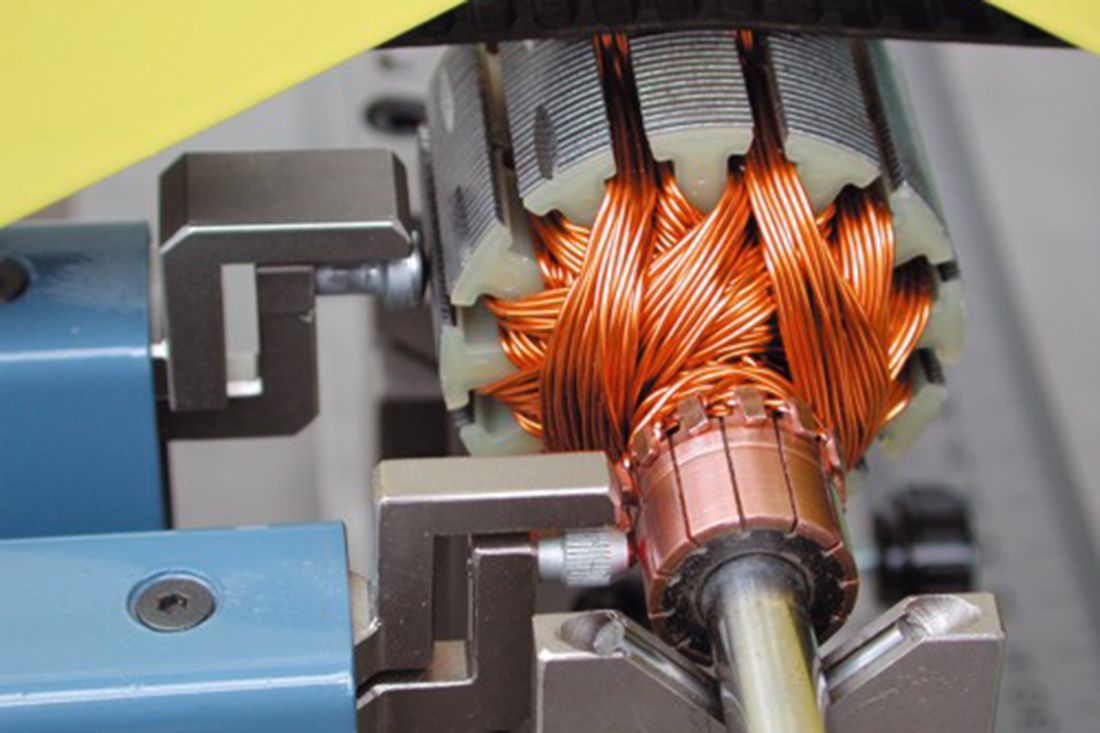
The bench references the armature shaft on V journals, reproducing the machining condition.
DESCRIPTION
MEASUREMENTS PERFORMED:
- BAR TO BAR: This is the vertical gap between the two adjacent edges on adjacent bars. All such gaps are calculated and the worst case is displayed; the typical tolerance is 3 µm. Values exceeding the tolerance have a dramatic influence on motor life.
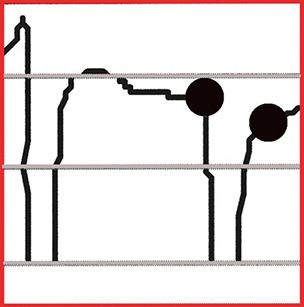
- BAR RISE - DELTA BAR: This is the TIR of each single bar. All the TIR's are calculated and the worst case is displayed; the typical tolerance is 5 µm. The value is related to the lathes tool status and indicates when a new tool is required.
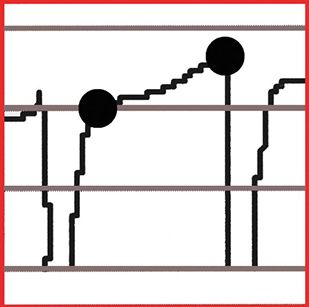
- TIR: This is calculated considering all the bars. The typical tolerance is 10 µm. This value reveals if the shaft is bent and indicates potential problems with the part assembly process.
- COMMUTATOR DIAMETER: The typical tolerance is 200 µm
- ROUNDNESS: The typical tolerance is 5 µm
OPTIONAL CHECKS ON ARMATURE:
- Angle between corresponding commutator and stack slots (commutation): This is performed if the stack slots are straight or if the section being inspected is referenced to a face of the shaft.
- Stack TIR
- Stack diameter
- Shaft TIR in different sections
- Bearing shoulder TIR
BENCH RETOOLABILITY
The standard bench can check all the armatures in the following range:
- Journal diameter: 3-17 mm (1/8-11/16")
- Commutator diameter: 60 mm (2 3/8") max
- Stack lamination diameter: 120 mm (3 15/16") max
- Distance between Journals: 300 mm (11 13/16") max
- Special range fixtures are available on request
- Part change is user friendly exploiting the self-learning retooling technique
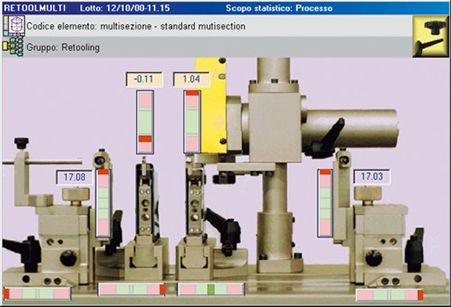
This technique guides the operator in repositioning all the adjustable fixture subassemblies, whose positions are detected by sensors and displayed by virtual scales.
BENEFITS
- Repetitive results, because the algorithms are always the same.
- The measuring process is reproducible, because it is not influenced by the operator's judgment.
- The measurements are obtained individually, by allowing the customer to tune the filtering parameters for every part number in an easy and clear manner.
- The modular design allows for the implementation of subsequent standard options.
- The self-learning retooling option is a big advantage when the unit is used to randomly measure a wide range of parts.
- Software upgrades may be downloaded online by customers using their individual password.
- Worldwide service support availability.
- Post-process features available.
- Connectivity for the use of network utilities in order to do data transfer, printing, and etc.
- Collected measurement data can be transferred in QS-stat or Excel format for customized reporting.
- It is possible to check the comprehensive system performance, in a scientific manner, using a master with shape errors (that is normally supplied with the bench).
- This measurement system exploits the experience gained from a wide range of products supplied, to all the main manufacturers, worldwide. This experience provides a strong knowledge base and allows product features to grow according to common needs.
- For the reasons mentioned above, this product is a recognized standard in its field.
- A fixture version is available, suitable for applications with pick and place devices or robot loading.
Download
