arrow-left-2arrow-left-3arrow-left-4arrow-leftchronodiggdown-arrow--lineardown-arrowearthenvelopefacebookfacebook_ (2)facebook_forward-arrowforwardgooglehomeico-downloadico-linkindustries--1industries--10industries--10_oldindustries--2industries--3industries--4industries--5industries--6industries--6_oldindustries--7industries--8industries--9linkedinmailmarkernewspaperpadlockpage-arrow-leftpage-arrow-rightpage-listpencilpinterestplay-buttonprintersearchsocial-diggsocial-facebooksocial-googlesocial-instagramsocial-linkedinsocial-pinterestsocial-twittersocial-youtubestartelephonetwittertwitter_user
Press Article

HOW TO MEASURE SIZE AND FORM ON THE SHOP FLOOR WITH SUB-MICRON ACCURACY

FROM QUALITY MAGAZINE, MARCH 2008 ISSUE

HOW TO MEASURE SIZE AND FORM ON THE SHOP FLOOR WITH SUB-MICRON ACCURACY

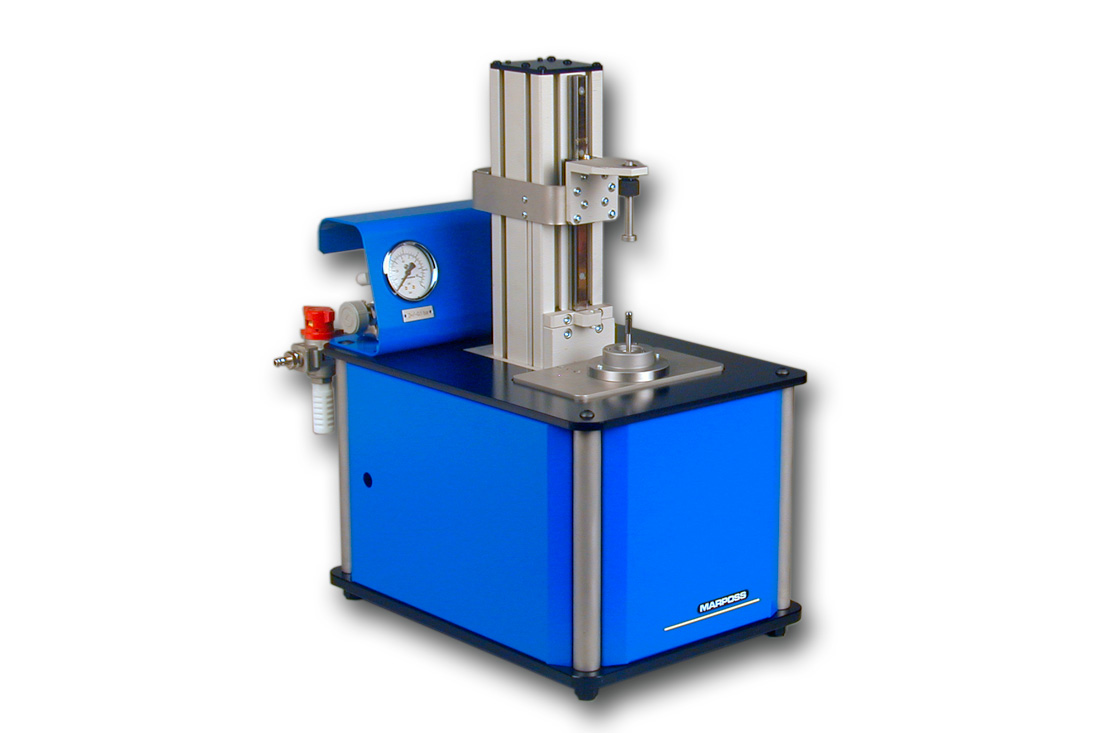
Not very long ago, sub-micron measurements were the domain of specialized, dedicated instruments in controlled-environment laboratories. If you wanted to know how well your process was performing, the only way to find out was to take the parts to the lab and wait, and wait, and wait. And, while you were waiting you had the choice of either shutting down production or taking a chance on creating an entire batch of scrap parts.

That situation created a demand for near-machine, or better yet, on-machine solutions that could measure size, form or other attributes as accurately as high-end lab instruments.
...

Read the How To Guide that appeared in the March 2008 issue of Quality Magazine.
Close
Close
Top Contact us