
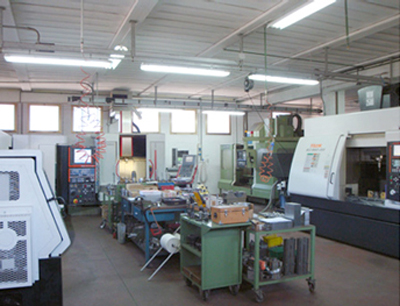
C+C Meccanica was established in Tuscany (Italy) in 1975 as a shop of
precision mechanical engineering. The available machine tool capacity
consists of machining centers with 3, 4 and 5 axes, NC lathes,
grinders, CMM and CAD/CAM software. The core business is manufacturing
of molds for thermoplastics.
In 2005 the owners, driven by their passion for motorcycles, decided to
diversify the production, starting projecting and making aftermarket
accessories for Ducati and Aprilia motorcycles, made of ergal and
titanium and obtained from a solid body.
A typical production workflow
Mr. Valerio Chiosi, owner of C+C Meccanica, tells us how a new product is generated: The work flow starts with a scanning of the original part using a CMM. This supplies all the dimensions necessary for the CAD modeling stage in which technical aesthetical solutions are studied for any type of product.
The mathematical model is transferred to the CAM to formulate the machining strategies. Then the post-processed program is loaded in machine and machining is started.
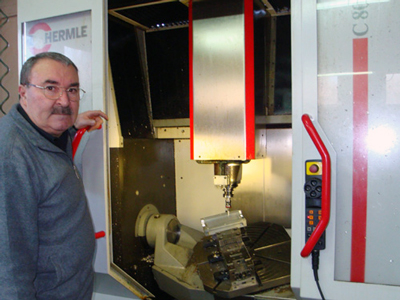
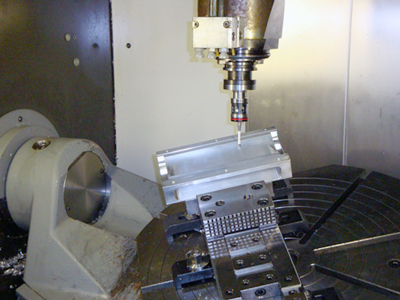
On-machine checking of mold by Marposs optical spindle probe OP32 and 3DSI
Wide range of parts measures
These accessories such as sprocket cases, clutch cases, adjustable rear set kits, number plate holders, etc., have sculptured surfaces and are fitted on the motorcycle where there are very precise housings and drilling planes. It is necessary to quickly check whether the dimensional requirements are met before proceeding with the finishing stage.
«The need for on-machine measurement was essential for a quick check of sculptured surfaces. Moreover, as these components are quite structured, measurements on the CMM involved very difficult fixturing and long times for re-alignment when returned to the machining center. Thanks to Marposs' 3DSI, we drastically shortened the reworking times, since we can check the consistency between the CAD model and the machined part instantaneously» claims Mr. Chiosi.
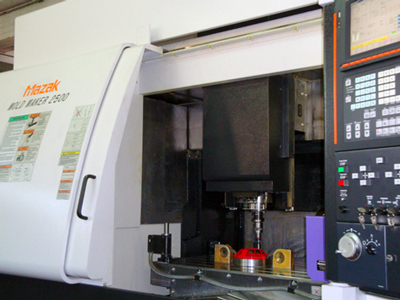
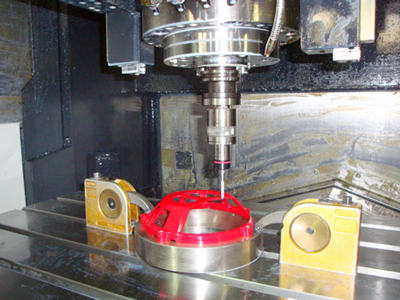
On-machine checking of Ducati clutch case by Marposs radio spindle probe WRS and 3DSI
3DSI solution
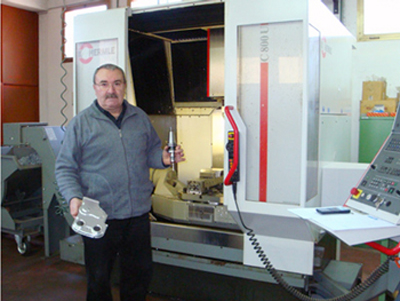
Actually, the problem was smartly solved by C+C Meccanica with the acquisition at the end of 2006, of the revolutionary measurement software - 3DSI - that Marposs had just introduced to the market. This was combined with a Hermle C 800 U machining center equipped with optical spindle probe OP32 for 3D measurements that has optimum spatial isotropy and unidirectional repeatability of 1µ (2Sigma).
«Now we are working with a much higher degree of safety than before» states the owner, «since the calibration is automatically entrusted to the software, each operator is free from errors and his responsibilities lightened. Measurements to be performed are already set by the 3DSI station user, who programs and safely simulates the measurement path just by clicking the mouse. The percentage of scrap was drastically reduced as the finish machining begins only after evaluating the reports generated by 3DSI following the rough finish or semi-finish stage. ».
«The recent introduction of the Tool Offset Feedback function in the software enables us to set, for each tool, a stock thickness in length and radius and protects us from errors in the interpretation of the measurement results». The initial skepticism at the purchase of the 3DSI was conquered as soon C+C Meccanica realized the great versatility of software joined to the simplicity of use confirmed by all the operators in the company. From the beginning, the software proved to be perfect for the Hermle machines with Heidenhain CNC, for which Marposs was the first to develop the post-processor.
This solution allowed the Italian company to avoid buying a new CMM: Mr. Chiosi tells us that before deciding to buy the 3D software, a comparison was made between the measurement output generated by the CMM and the output generated by 3DSI. The result was a perfect overlapping of data, with correlation in the order of 3-5µ, and 2µ repeatability.
Saving time and money
In short, the owner quantifies a 20% saving in the machining cycle time of an individual item.
«We are enthusiastic about this software» comments Mr. Chiosi «since we had already been using Marposs part-probing successfully for many years, and with the last machining center bought, a Mazak Mold Maker 2500, we implemented the 3D measurement software combined with Marposs radio spindle probe WRS. A small investment with a big and immediate yield».
The introduction of the software in the product cycle, despite the high degree of complexity of these items, reduced the time to market for a quicker reply to the market dynamics allowing a substantial saving of time and money.